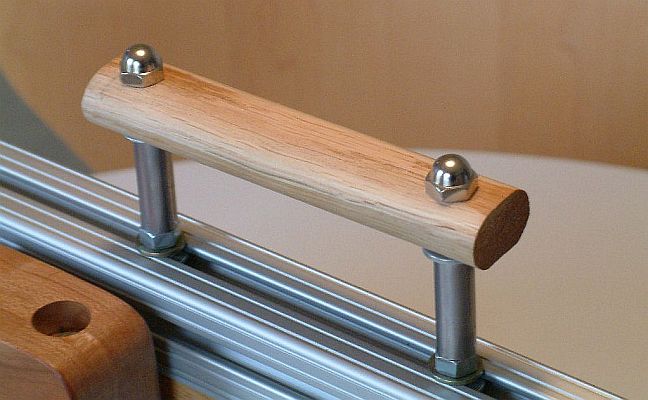
 Handle 1:
- Best looking.
- Hardest to build.
- Tall enough to replace ball knob.
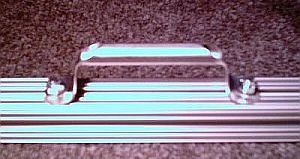
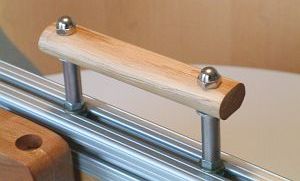 Handle 2:
- Still good looking.
- Intermediate in ease of building.
- Tall enough to replace ball knob.
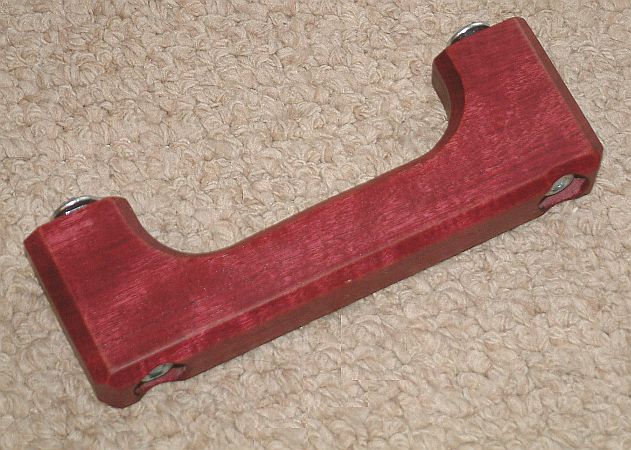
 Handle 3:
- Easiest to build.
Handle 1:
|
Handle 2:
|
Handle 3:
|
|
This handle is built from a piece of 5/4” hardwood stock, with the
grain running lengthwise. 5/4” hardwood stock is not generally
available at many lumberyards and may have to be purchased at a
specialty lumber retailer or a lumber mill. 5/4” stock is
actually 1” thick, whereas 1” nominal stock is actually ¾”
thick. Stock this wide is needed for the handle to have room to
recess the hex nuts that hold the handle in place. Another possibility for 5/4” stock, if you are skills and tools to do so, is to create a 1” actual width piece by gluing two narrower pieces together. You could glue two ¾” pieces together and then rip or plane them to the final width, which is what I did for mine, or buy ½” stock just for the handle and glue two ½” pieces together to make a 1” piece. |
 Start by cutting the basic block to size according to the plans. Start by cutting the basic block to size according to the plans.Once you have the block cut, drill the counterbores for the recessed hex nuts. I did mine with a forstner bit in a drill press. After the counterbores are completed, drill the 5/16” holes the rest of the way through the legs of the handle. When the drilling is complete, mark the location of the lines you will use to guide the cutout portion of the handle and proceed to remove this notched area. You can use one of a couple techniques to remove the notched material. It can be done completely, but not very neatly, with a saber saw or a band saw, for example. I did mine by first boring the rounded inside corners with a large forstner bit and then removing the rest of the material with a table saw with the blade set to the correct height and doing multipe passes. |
 Either chamfer or round the edges of the
handle where you will be gripping it, using a router. Sand as needed; this part must be smooth. Either chamfer or round the edges of the
handle where you will be gripping it, using a router. Sand as needed; this part must be smooth. |
 Mount the handle by following the component assemblies’ instructions
for Handle 2. You may want to experiment with the placement of
the handle so it will be best balance for your typical use.
Mount the handle by following the component assemblies’ instructions
for Handle 2. You may want to experiment with the placement of
the handle so it will be best balance for your typical use. |
 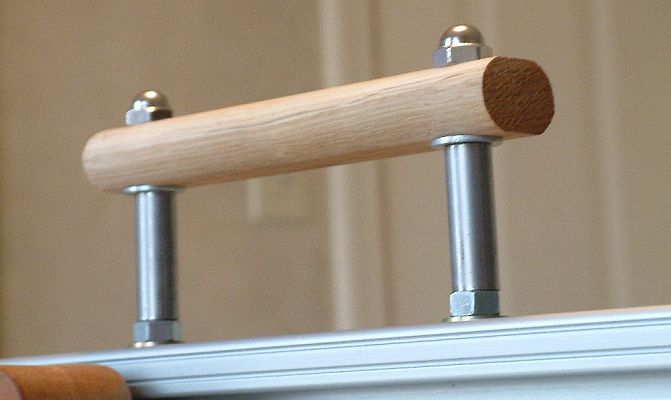 |
Handle 2 is made of a single piece of hardwood stock, with the grain running lengthwise. Start by cutting the block out. Drill the 5/16” holes at each end of the block. Chamfer or round the edges of the handle where you will be gripping it, and sand as needed. To mount it, follow the component assemblies’ instructions for Handle 2. |